
No money to buy a costume.
BUT... I can sew!


TIME TO SEW!
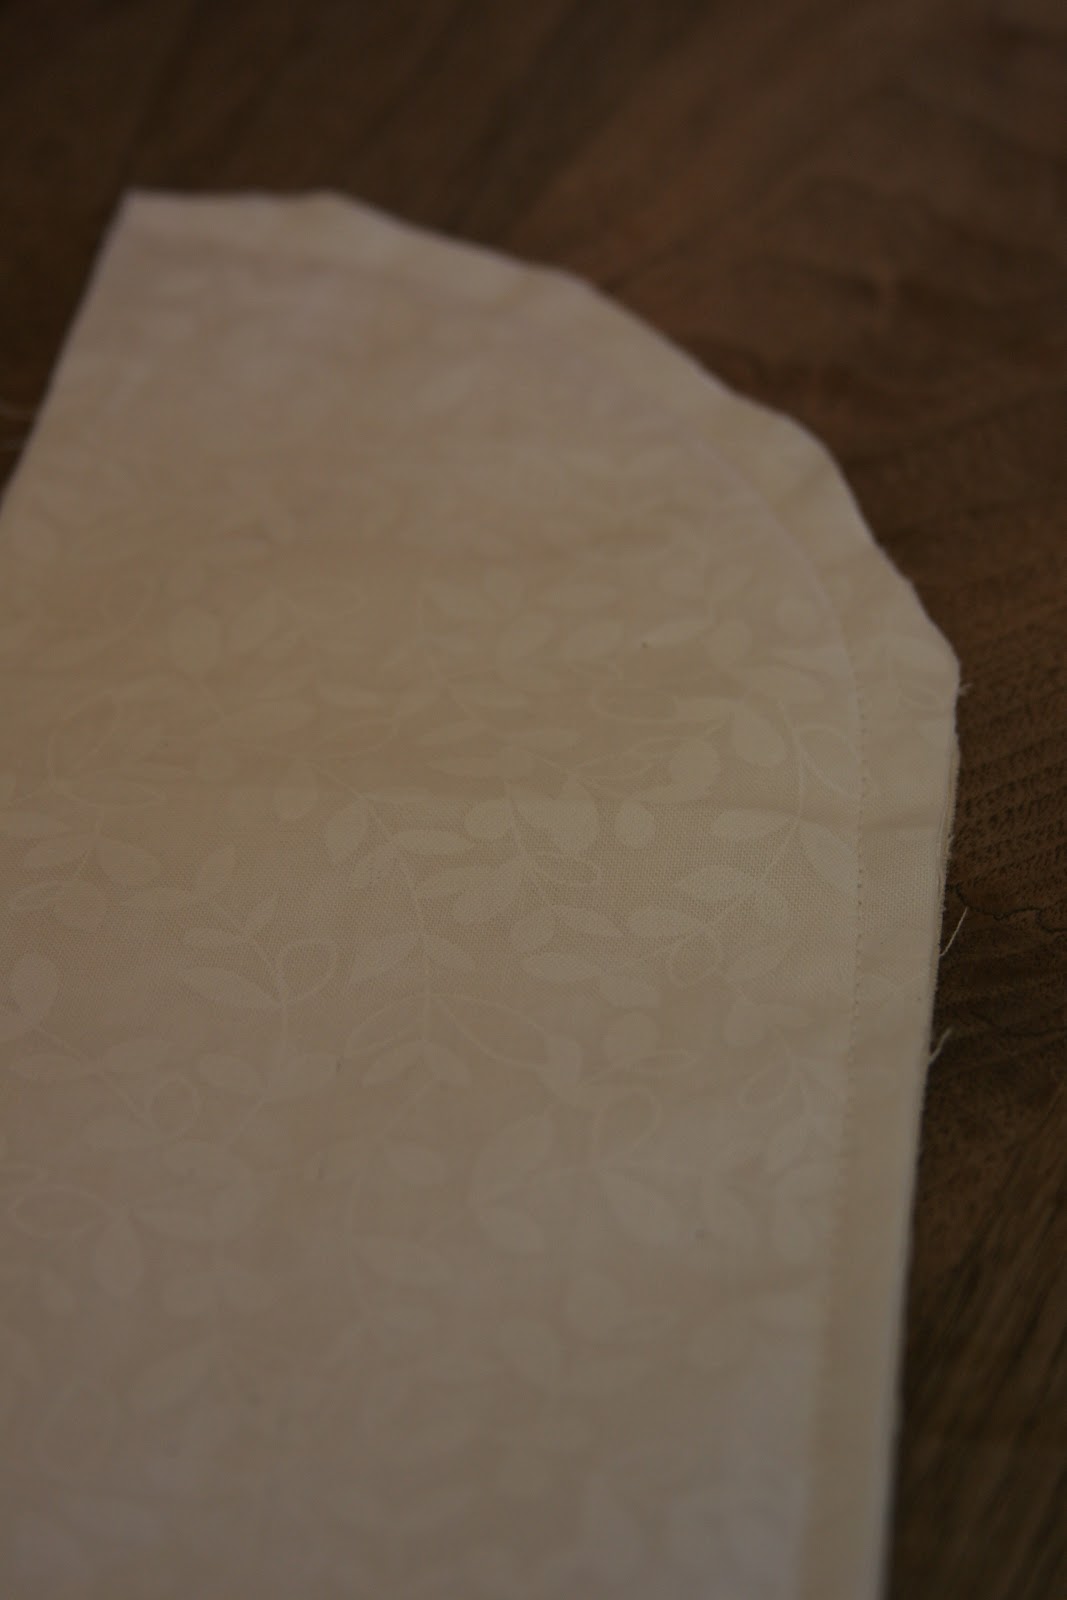
First, sew the folded-in hems on the bonnet. Then fold the bottom the same way (1/4" folded in twice and press) and hem the bottom.

Which I'm not.
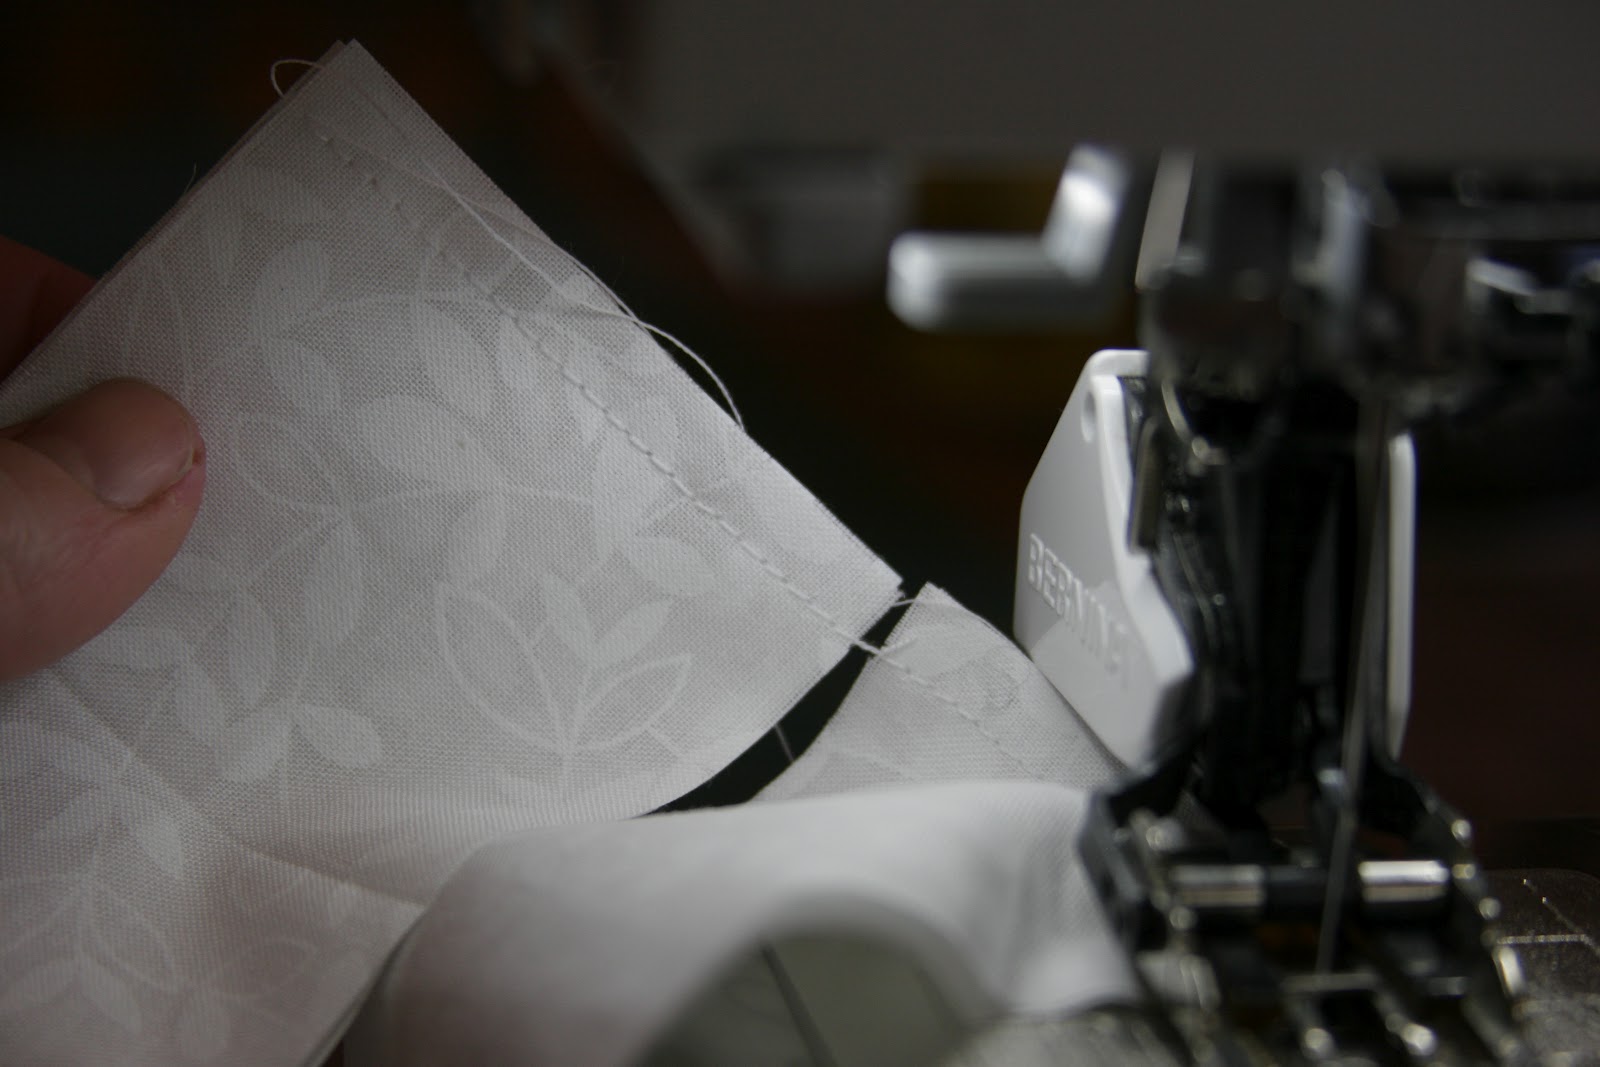
Now, find that little 1/4" snip and fold like a "z" down to meet the 1/2" snip. Do the same on the other side so that the "z" extends across the width of the fabric. Press.


Do the same to the tie on the other side.
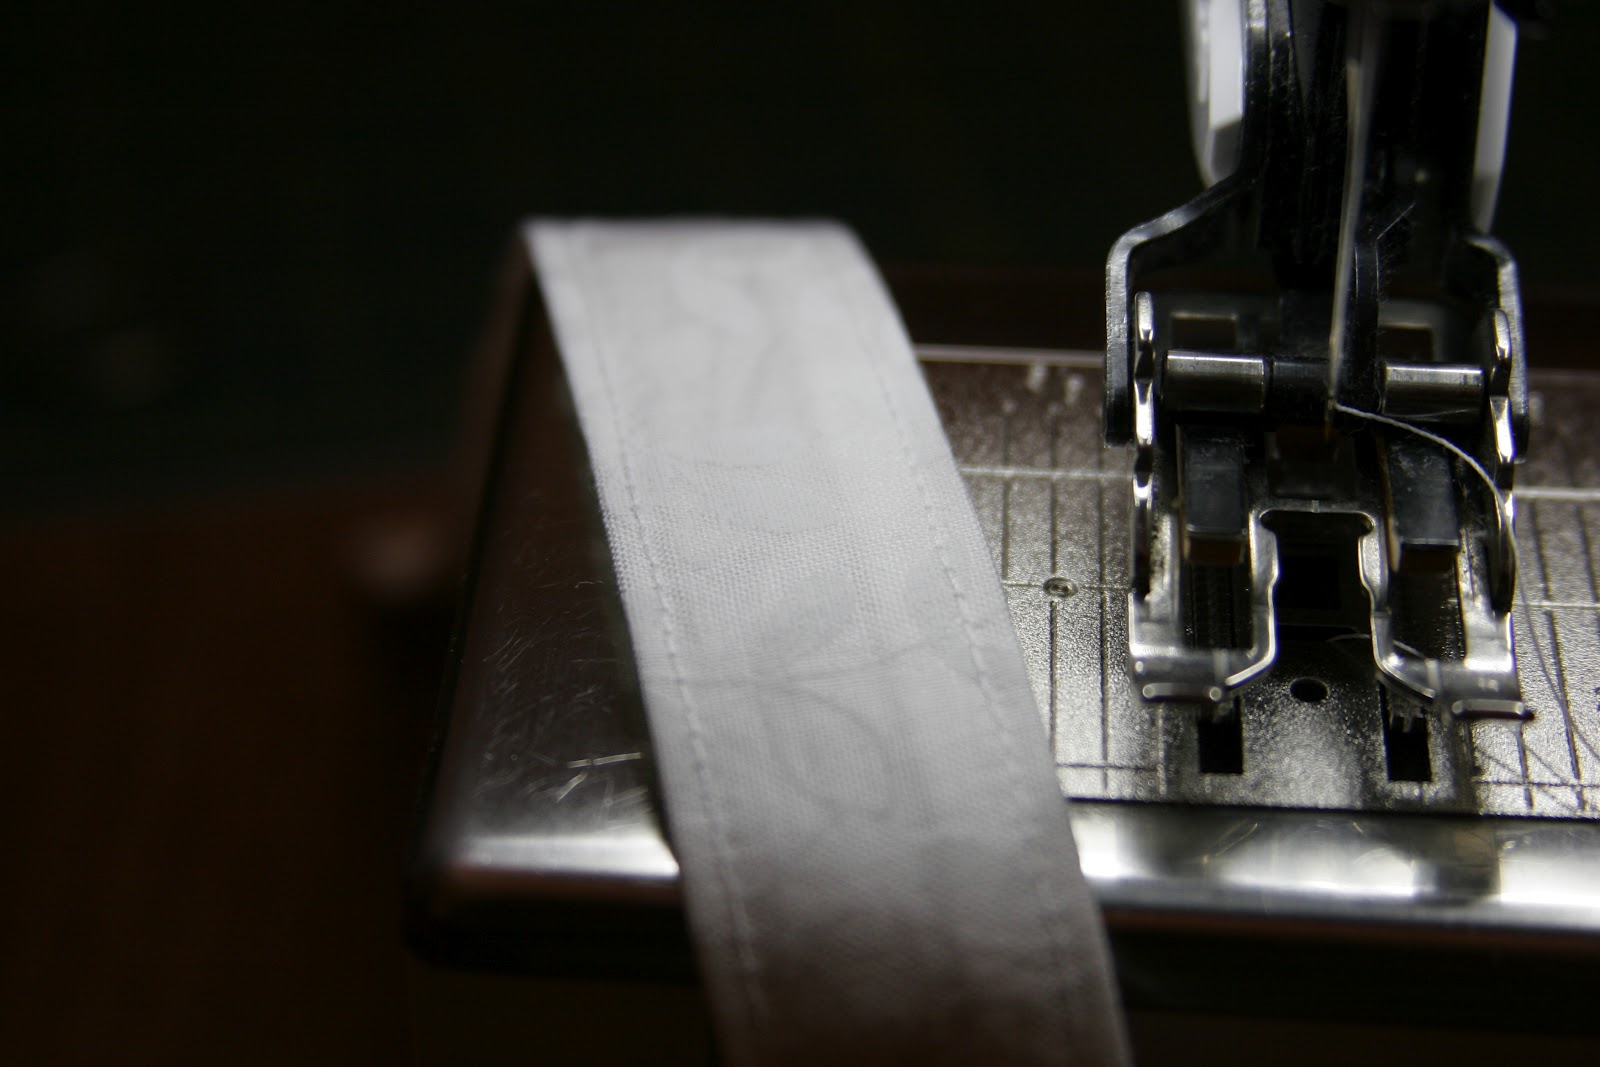
Now for the gathering step. I hope I can explain this well enough here with the pictures. If not, search youtube for a "gathering stitch" tutorial (like I did.)


Time is running out.
BUT... I can sew!
I've never made a bonnet before, but Google got me started with a few sites offering patterns and tutorials. This one was the most helpful. Most of my pattern was found there. This other one had the idea of quilting the brim. It also suggested the use of muslin instead of interfacing. PERFECT, since I already have muslin in my fabric stash.
Save money and make a tiny dent in my hoarder-esque fabric area? Sign. Me. Up.
So off I went to the fabric store.
It was Memorial Day weekend, so there were sale signs everywhere. Just not on the quilting fabrics I wanted to choose from. Then my eye caught a sale sign over the fabric quarters, also called "fat quarters." $1.29 each! I looked at the dimensions of the fat quarters - 18" x 21" - and decided to try to make it work. I figured that I'd need two (plus maybe one more if I wanted to get all fancy and make an apron too.) I might be cutting it close, but it would be kind of cool to be able to make something out of those cute little packages of fabric. Fat quarters are also great because they are generally cut in nice dimensions - no need to do too much lining up / squaring up. And those two fat quarters ended up working beautifully!
Here are the basic supplies:
*2-3 Fabric Quarters (fat quarters). Two is exactly enough, but you might want to pick up an extra in case you're worried about making mistakes.
*Muslin or other lightweight fabric - enough to cut three 18" x 4.5" rectangles
*Thread to match fabric
*7" of 1/4" elastic
*Ruler or measuring tape
*Scissors or rotary cutter/mat/ruler
*Iron/ironing board
*Sewing machine with walking foot

Since I like to quilt, I already had some time-saver supplies, like a rotary cutter / cutting mat and a walking foot (more on that later). You can probably do this project with just old-fashioned scissors, but these tools certainly make the job faster.
Press your fabric squares.

Fold fabric in half so that the long edge measures about 18". Trim the edges to square up and make the length exactly 18". Since fat quarters are already supposed to be 18" wide, you'll only cut a tiny bit off each edge for this first cut. Then, unfold/refold it the other way, and cut again so that you have an 18" square. If you're using scissors, you won't have to fold the fabric. I just do that to fit it under my cutting ruler.
Remember to measure twice, cut once.
(My husband taught me that!)
(My husband taught me that!)

Now, leaving your fabric folded in half, fold in half again, making a 9" x 9" square. Press.
And if you're hating the idea of pressing lines into the fabric you just pressed flat, TRUST ME. You'll want those pressed-in lines later (and you won't really notice them once the bonnet is all sewn together.)
Open one fold, so that you have a rectangle with the fold on the right. (I folded that little corner back to show you where the open edges are, but make sure the folded fabric is flat before starting the next step.)

Keeping your corners/edges together on the left and the fold on the right, fold the top down to meet the middle line (remember what I said about wanting those pressed lines?)

And fold over again.

And again. My rotary cutter is just holding it in place for me so that I can snap a picture.

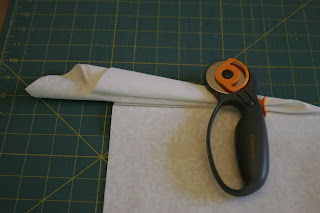
Cut a straight line down the edge of the folded material.

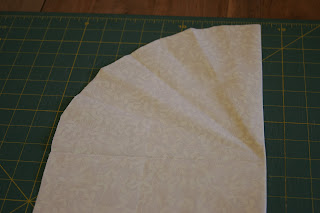
VOILA! Easy curved edge!! Nifty, eh?

When you open it up, it looks like this. And if you follow the directions with the fold on the correct side, it will look like this every time. DON'T do what I did the first time and cut with the fold on the opposite side so that you end up with what looks like a big fabric "M." (True story.)

If you've unfolded it all the way, refold once so that the curve is at the top and the fold is on the right edge. Measure 3 1/2 inches up from the bottom on the left (open) side and make a little 1/2" snip with scissors. Measure up one inch from that snip and make a 1/4" snip there.

It should look like this:

Unfold the fabric all the way, place it right side down, and then go to the part below the 1/2" snip. Fold it in 1/4" and then again another 1/4" and press. Do this to both sides.

If you're itching to sew a few stitches, skip this next part and go to the part where you sew that folded hem. But if you're going for FAST, do all of your cutting first.
For the brim, take your second fat quarter and square up the 18" ends again. Then, cut two strips that are 4 1/2" x 18. While you're there at the cutting board, cut three strips the same size out of your muslin.

Fold and then fold again so that you have a square. Press.

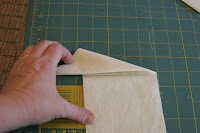
Unfold once and put the fold at the bottom. Fold /cut just like you did for the curve above.


Here's the before/after (or after/before, actually...)

Two fabric pieces

All five pieces cut. They aren't identical, but close enough to make it work. Again...going for ease and speed, not County Fair entries.

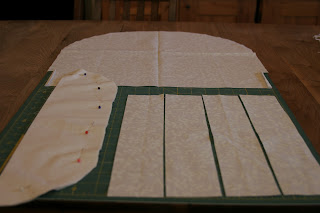
Stack the pieces with the three muslin pieces on the bottom and then the two fat quarter pieces on top, right sides facing (touching) each other. I stacked them one by one on my ironing board and pressed as I stacked. Pin together (you'll see the pins in a later picture).

LAST CUTS! For the ties, cut four 2 1/2" strips. I was trying to reserve some fabric for another apron project, so I cut them the short way (as seen in the picture below). If you don't need the fabric for anything else, you can make them a little wider and/or cut them the long way. 2 1/2" was pretty skinny for turning inside out, so if I was doing this project for just the bonnet, I think I would make them a little wider.


Here are ALL of the cut/pressed/pinned/ready-to-sew pieces.

TIME TO SEW!
First, sew the folded-in hems on the bonnet. Then fold the bottom the same way (1/4" folded in twice and press) and hem the bottom.
The picture below shows my walking foot.

It is an indispensable tool for quilters, and I found that it was equally indispensable for this project. It keeps the top and bottom fabric pieces moving together so that you don't have that pull on the top fabric piece. As long as you've lined up your pieces correctly, the ends will finish together every time. If you don't have a walking foot, you can probably still do this project, but it won't come out as neat and tidy.
Unless you're a reeeeally good seamstress.
Now, find that little 1/4" snip and fold like a "z" down to meet the 1/2" snip. Do the same on the other side so that the "z" extends across the width of the fabric. Press.

Here's what it looks like after pressing.

Sew along the folded line, staying as close to the edge as you can.
I had to sew v e r y s l o w l y.

Then flip the fabric over and do the same on the other side.

If you don't sew close to the edge, you'll have trouble getting your elastic threaded through the little case you just created.

Cut a 7" long piece of elastic (1/4" wide)

Thread through the casing, securing one end before pulling all the way through. Pictured below is another gadget that I forgot to list in the tools at the beginning. It has a little hook on one end.
Just push it through the casing, grab one end of the elastic with the hook, and pull through.
Just push it through the casing, grab one end of the elastic with the hook, and pull through.

Before pulling all the way through, sew one end to hold the elastic in place.

Then pull all the way through, pin to hold in place, and sew to secure the other end. Put this piece aside while you work on the brim.

The brim should be all stacked and pinned. Starting a the end of one of the curved sides, sew a seam about 1/4" from the edge and finish at the other end of the curve. Leave the straight side open.
Flip inside out so that the right sides of your fabric show on both sides of your piece. Press.

Now for the fun quilting part!! Again, a walking foot is SUPER helpful here. Maybe even necessary. But they are also a tad expensive, so if you don't have one, you might want to try using fusible interfacing in lieu of the three layers of muslin. No guarantees on how this will look, but the original tutorial I was following recommended interfacing, so it's probably fine.
Quilt a line about 1/2" from the edge, following the curve around. I just kept my eye on the corner of my walking foot, making sure that corner always touched the edge of the fabric.

And continue making these parallel lines (like a rainbow!) until you run out of room. Brim is done!

Pick up two of your four final strips and sew the ends together. Repeat with the other two strips. Press the seams open.
Fold them with the right sides in and sew the bottom and side together, leaving the top open.

Turn right side out (again, that little hook is really, really helpful here, unless you have some time to waste).
They look pretty sad and wrinkly, but...
They look pretty sad and wrinkly, but...

...they look nice again after pressing.

Sew a tiny hem around the sides and bottom. (You can probably skip this step if you're in a hurry, but I think it looks more finished this way.)
Take the unfinished end of one tie and fold like a "z" to match the width of the casing. Sew in place.

Here's a better picture of what it looks like sewn in place. It's sewn to the inside of the bonnet.

One more picture.

Do the same to the tie on the other side.
Now for the gathering step. I hope I can explain this well enough here with the pictures. If not, search youtube for a "gathering stitch" tutorial (like I did.)
Set your stitch length at it's longest. Mine is 5. Starting just above where you sewed the tie on, stitch about 1/4" all the way around the curve of the bonnet and finish just above the other tie. Do NOT use the reverse stitch.

Go back to the other side again and stitch another row 1/4" to 1/2" away from the first.

Here's what it should look like.

Grab just the bobbin threads on one side and start pulling and scrunching until you have gathers up to the 1/2 way point. (Remember what I said about wanting those pressed lines?) Do the same on the other side. Don't worry too much about making the gathers even at this point. Just get it to look kind of like this.

With the wrong side facing up, pin the brim, matching the unfinished edge of the brim to the gathered edge of the bonnet. You should be able to match the pressed line in the center of your brim to the pressed line in the center of the bonnet. (Again! Those helpful pressed lines!) Pin that in place first, then the corners, and then adjust the gathers in-between. Try to get it somewhat evened out (although, it really doesn't have to be perfect). If it matters which side is up on the brim, play with it a little to figure out which will work. I had to re-pin a couple of times before I got it right!

Here's the brim pinned inside the bonnet. I preferred sewing with the gathers on top, so I pinned it this way. Adjust your stitch length back down to normal (between 2 and 2 1/2 - whichever you prefer) and sew the brim on. OR, you can do like I did and forget to adjust the stitch length. Then you can realize your error later, kick yourself, and go back and restitch the whole thing with the correct stitch length.
Anchor each end with a reverse stitch, since this will be your last stitch.
Anchor each end with a reverse stitch, since this will be your last stitch.

Turn right side out and you're DONE!
Cute, right?

If you have an extra fat quarter, make an apron. Just do a gather stitch like you just did on the bonnet, sew a binding over the top, and add ties.

Now go watch an episode of "Little House on the Prairie."
I have the entire series on DVD if you want to borrow them...
I have the entire series on DVD if you want to borrow them...
